What Is a Smart Toilet? Features, Benefits & Buying Guide | EMU
Install a bidet seat in under an hour - no specialist plumbing needed. Complete step-by-step guide for homeowners and contractors, plus troubleshooting tips.
Installing a bidet seat is one of the easiest bathroom upgrades you can make. No major plumbing work, no wall drilling, no specialist tools. Most homeowners complete the job in under an hour - and for contractors, it's a straightforward addition to any bathroom specification.
This guide walks through everything: what you need, how to prepare, and the full installation process step by step.
← Back to the Complete Guide to Bidet Toilet Seats
Before you start, gather the following:
That's it. No soldering, no pipe cutting, no wall work required.
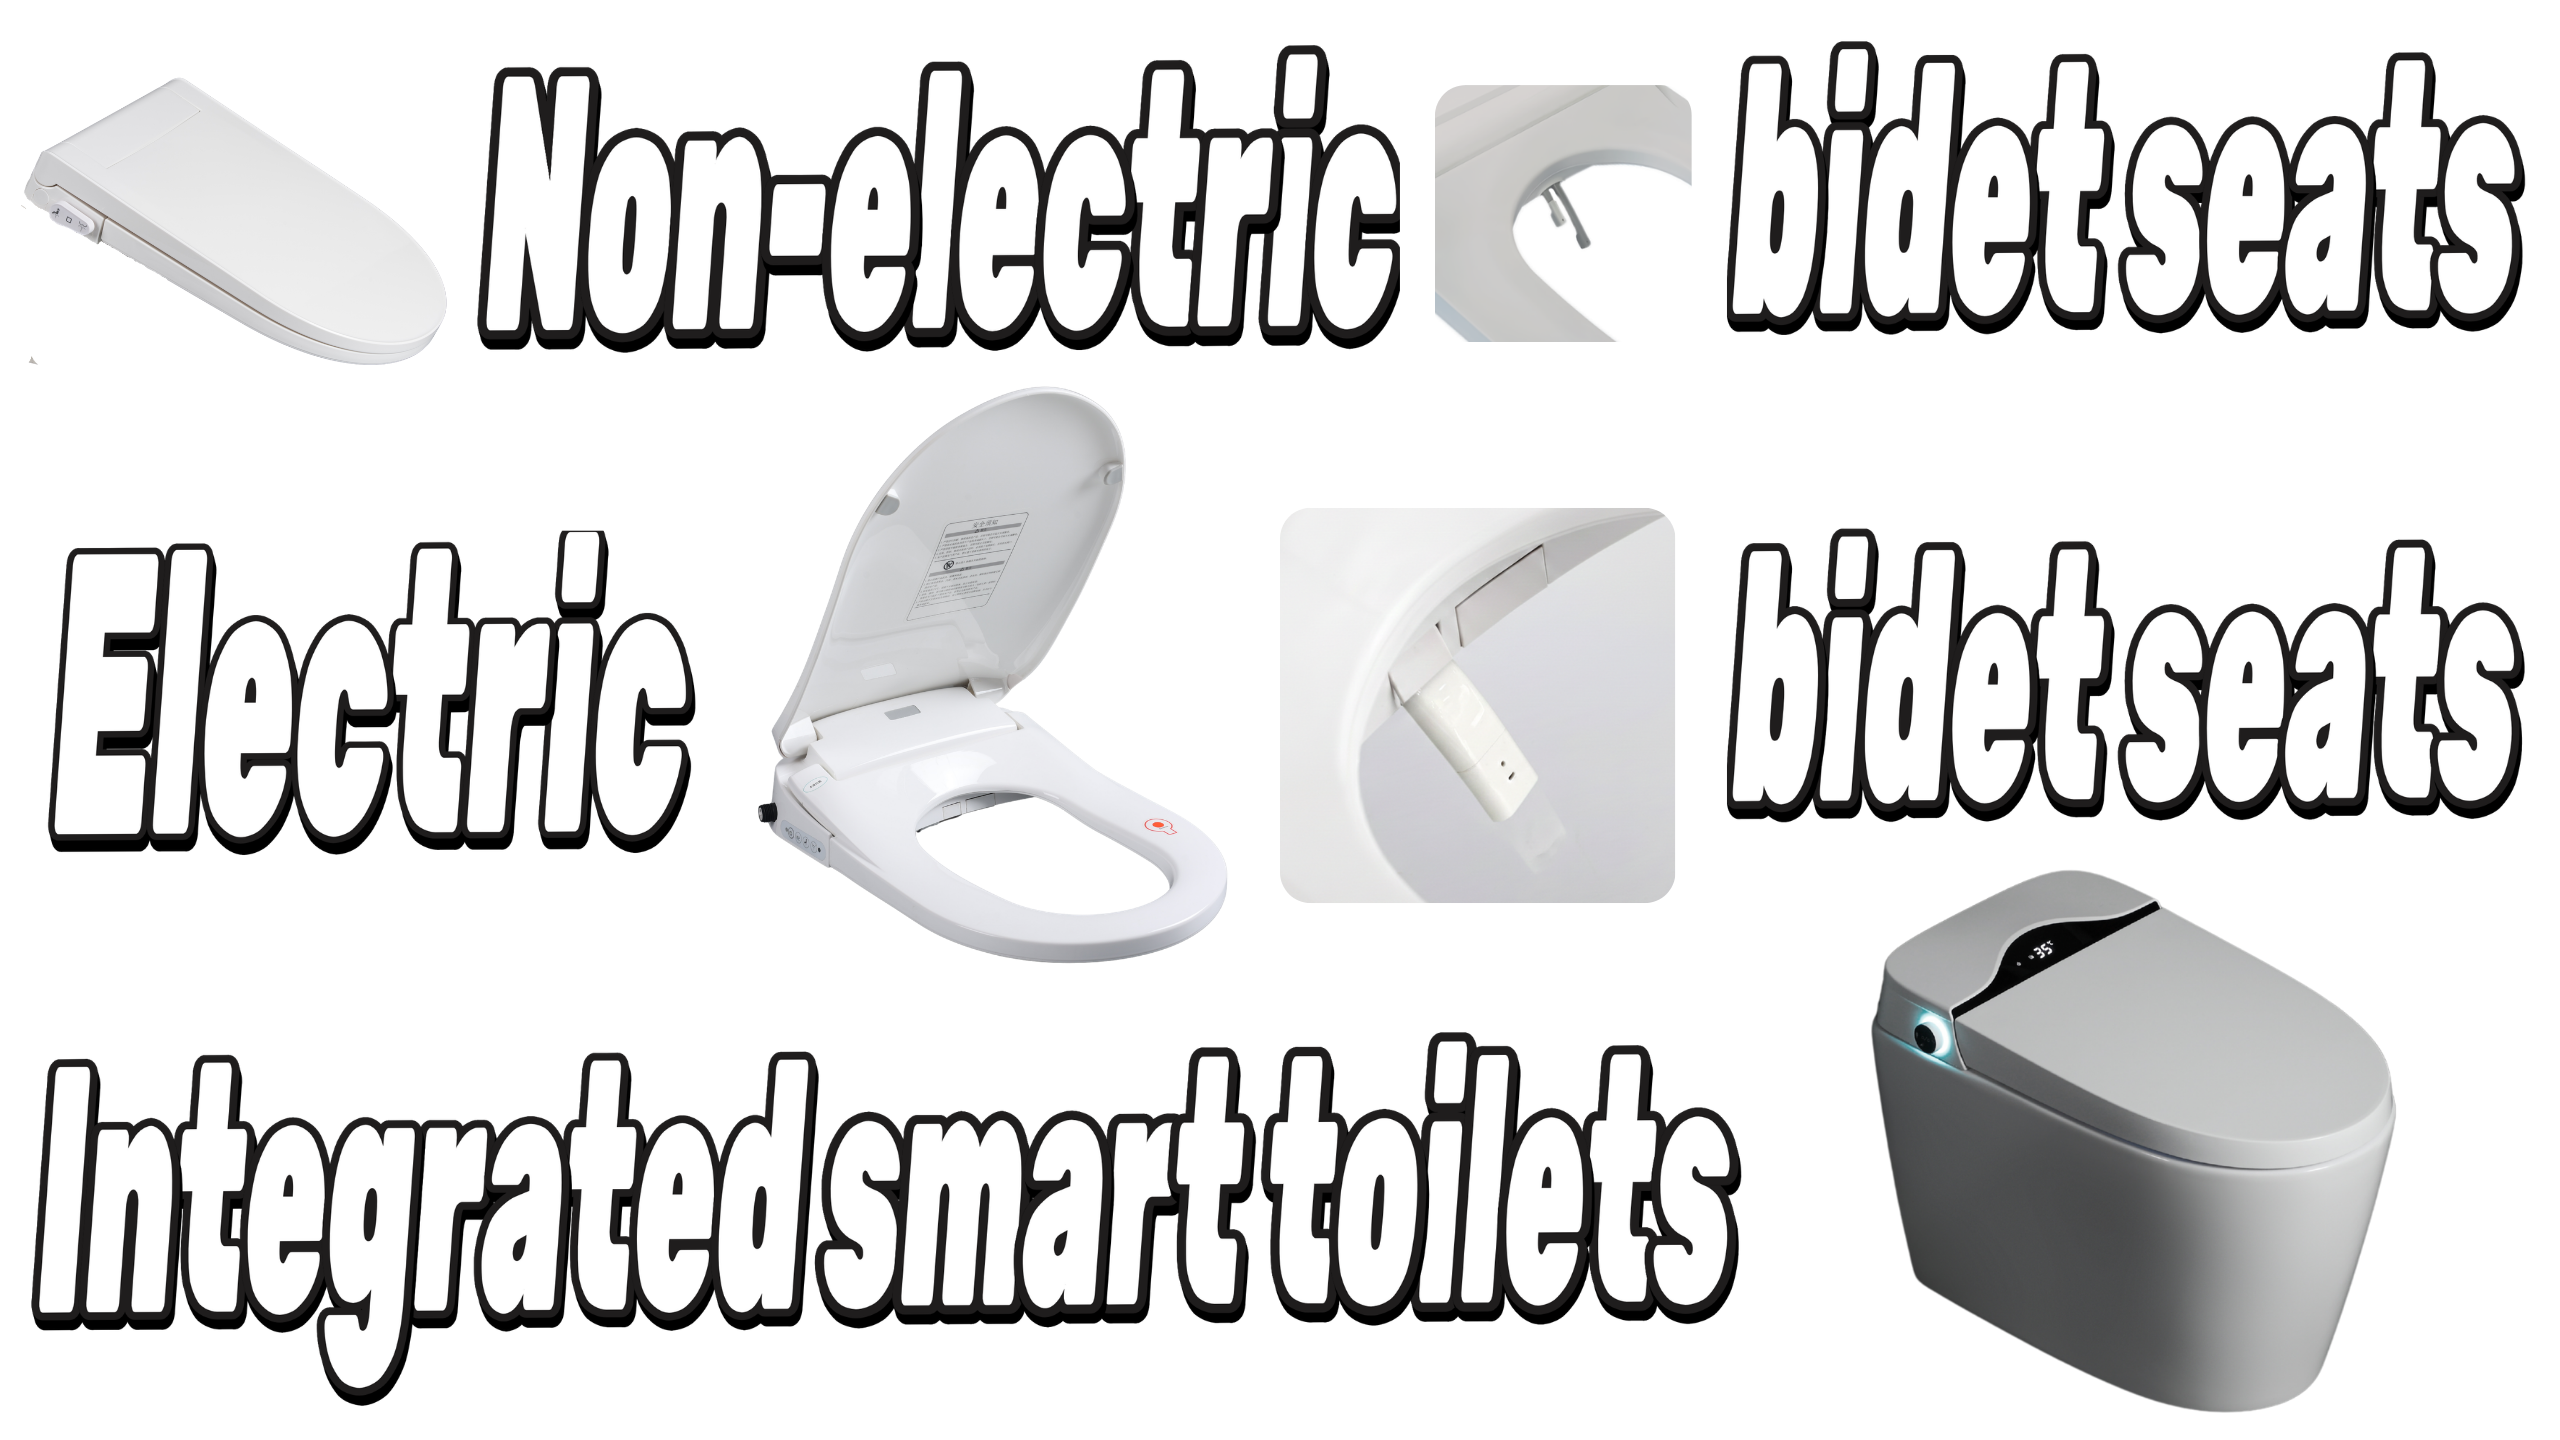
Electric bidet seats need two things that standard toilets don't always have nearby:
Your bidet seat connects to the existing cold water supply line behind or beneath the toilet. The T-valve included with most bidet seats splits this line - one feed goes to the toilet cistern as normal, the other goes to the bidet seat.
If the water supply point is not immediately accessible, a plumber can extend it in under 30 minutes. This is a minor job for any contractor.
Electric bidet seats plug into a standard grounded outlet (earthed socket). The outlet needs to be within reach of the seat's power cable - typically 1.2-1.5 metres.
If there is no outlet near the toilet, an electrician can install one. In most bathrooms, this is a straightforward cable extension from an existing circuit. It does not require a full rewire.
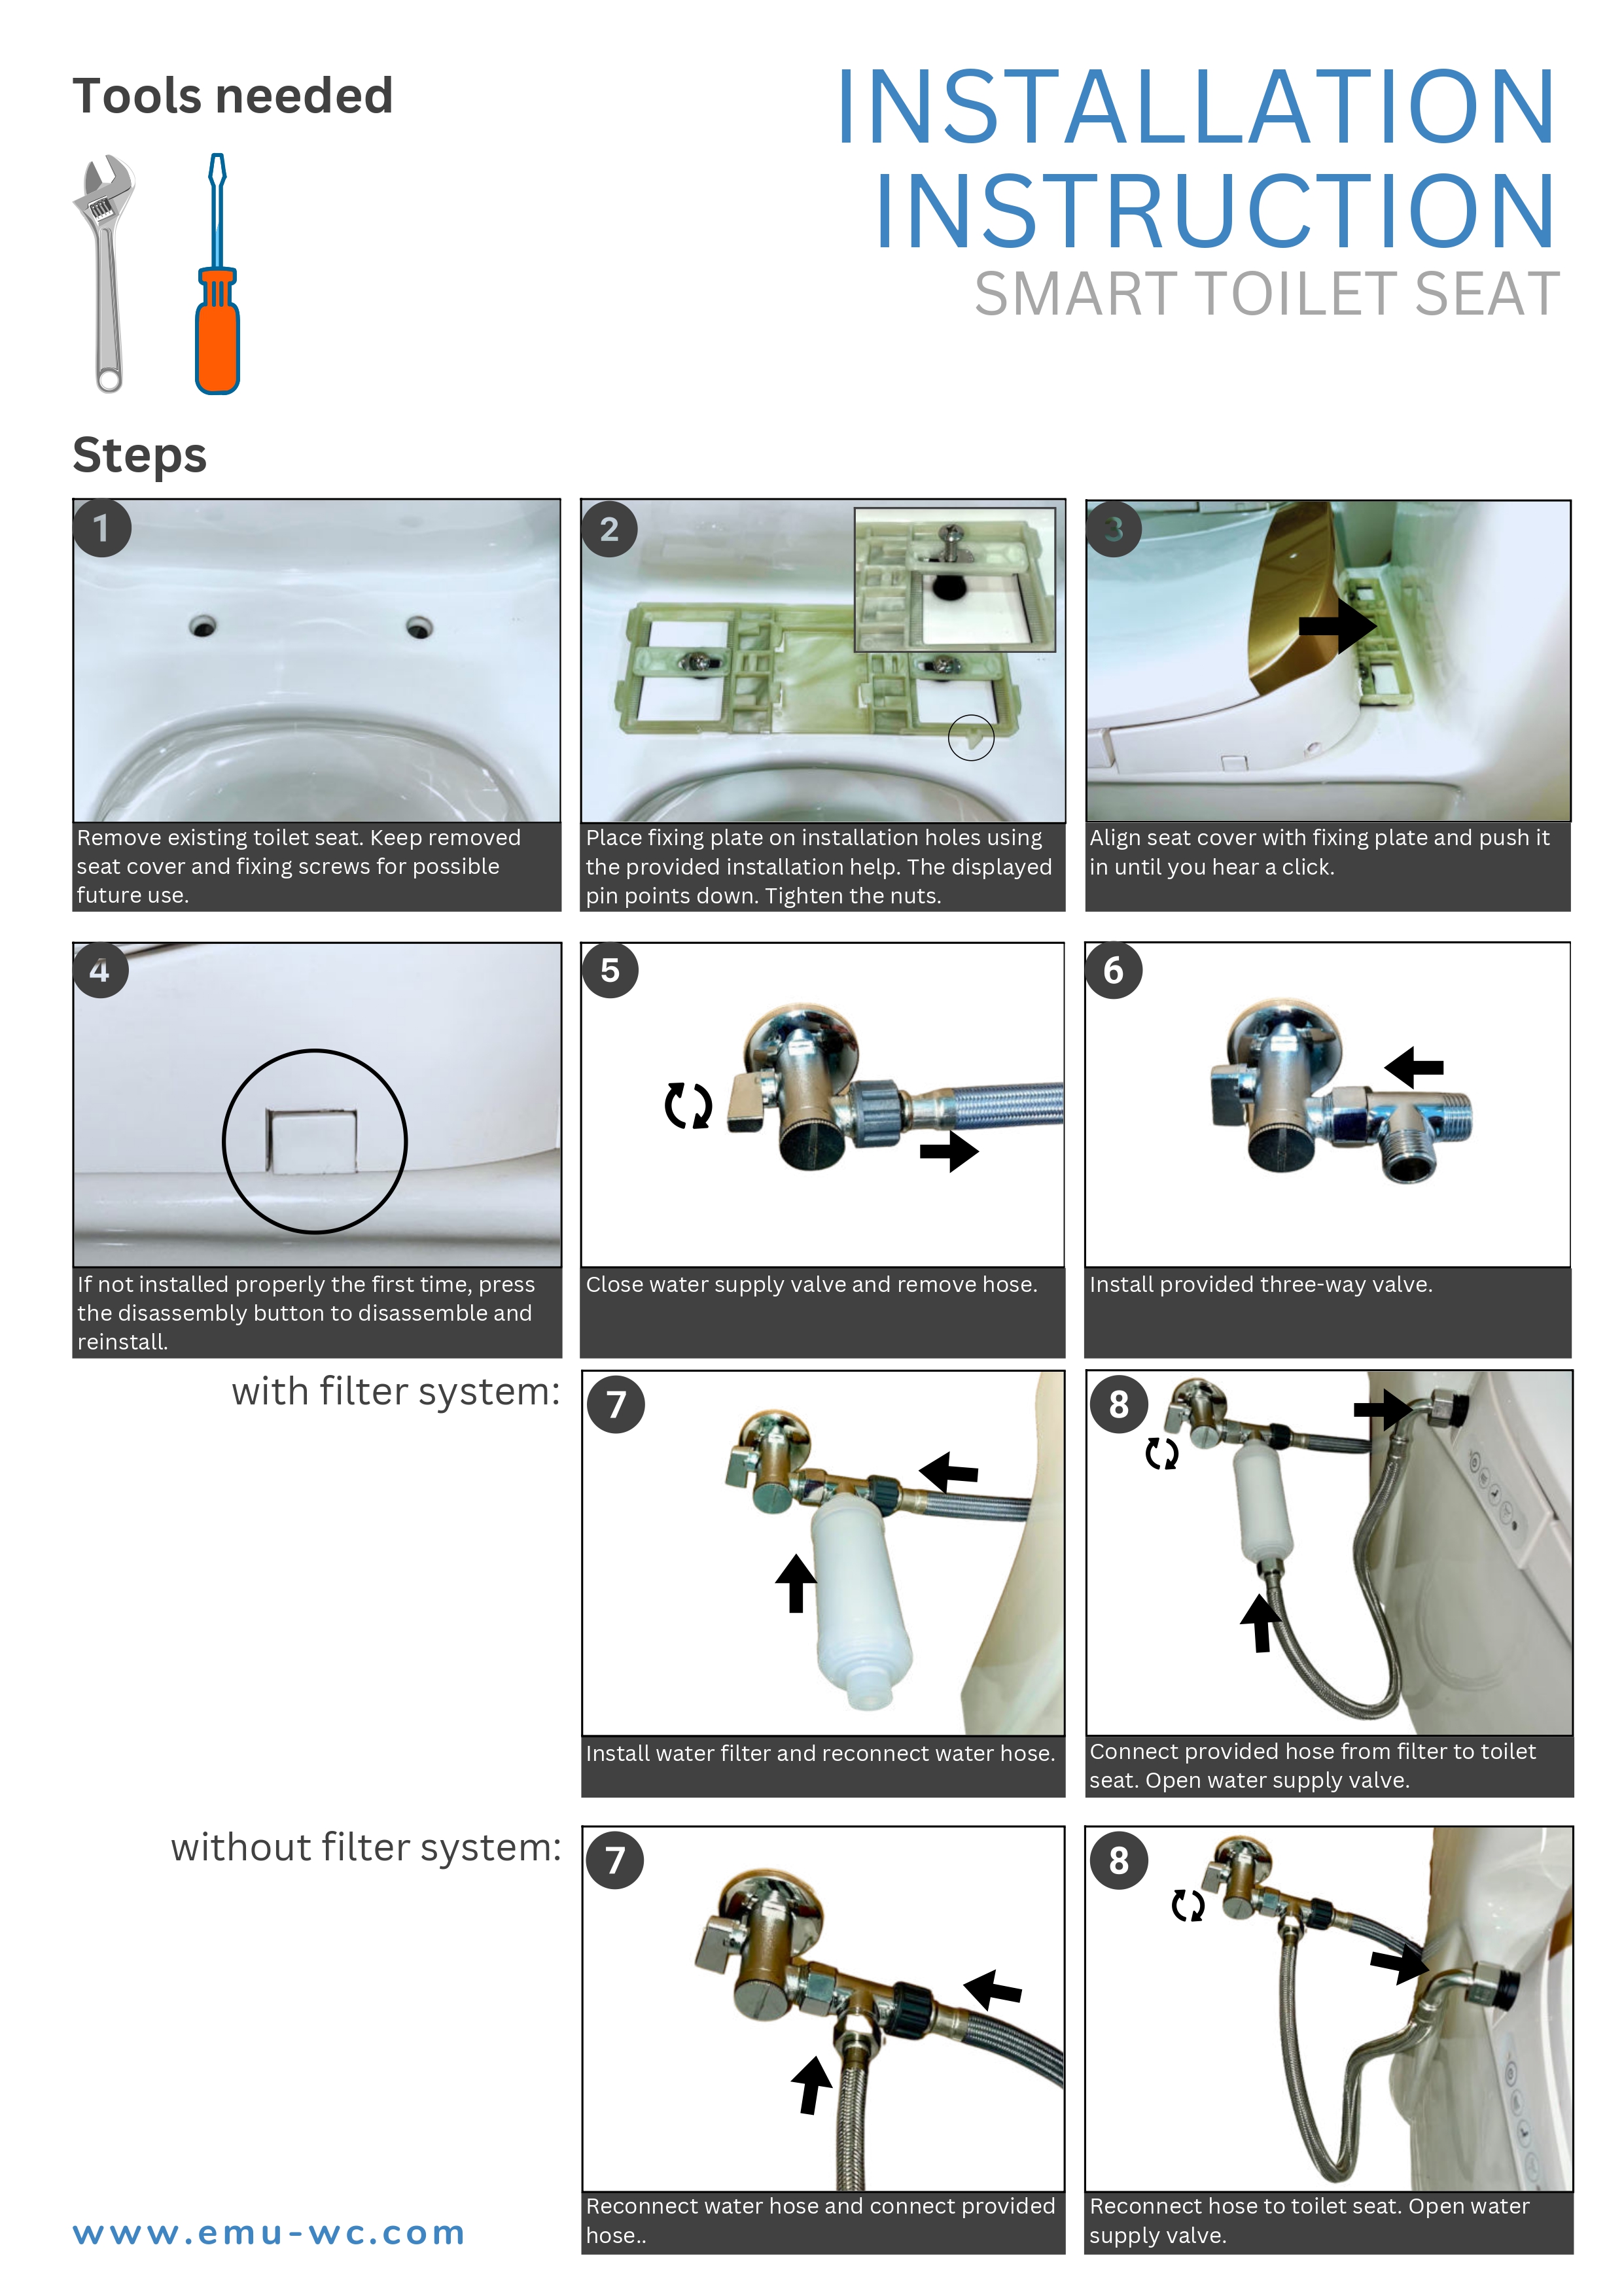
Locate the shut-off valve on the water supply line behind the toilet. Turn it clockwise to close. Flush the toilet once to empty the cistern and relieve pressure in the line.
Most toilet seats are held in place by two bolts at the back of the bowl. Unscrew the nuts from underneath (hand-tight or with a wrench) and lift the seat off. Set it aside.
Your bidet seat comes with a mounting plate that fits into the same bolt holes as the original seat. Position it centrally on the bowl and secure it with the provided bolts and nuts. Do not overtighten - firm hand-tight is sufficient.
Disconnect the existing water supply hose from the bottom of the toilet cistern. Attach the T-valve to the cistern inlet - hand-tight, then a quarter turn with a wrench. Reconnect the original supply hose to the bottom port of the T-valve. The side port of the T-valve will connect to the bidet seat.
Attach one end of the bidet supply hose to the side port of the T-valve. Connect the other end to the water inlet on the bidet seat. Hand-tighten both connections, then snug with a wrench. Do not overtighten - these are plastic fittings.
Slide the bidet seat onto the mounting plate until it clicks into position. Most models have a quick-release mechanism for easy removal and cleaning.
Slowly reopen the shut-off valve. Check all connections for leaks - T-valve, supply hose, and bidet inlet. If any connection drips, tighten slightly. A dry connection at all points means you're good to proceed.
Plug the bidet seat into the grounded outlet. Allow 1-2 minutes for the seat to heat up (if your model has a heated seat). Run a test wash cycle to confirm water flow, temperature, and pressure are working correctly.
Installation complete.
Can bidet seats be specified for new builds? Yes. The only requirement is a grounded outlet within reach of the toilet position and an accessible water supply point. Both are standard in modern bathroom specifications.
What toilet shapes are compatible? Most bidet seats fit standard round and elongated bowls. Always check the seat's compatibility list against the specified toilet model before ordering.
Are there commercial or multi-unit options? Yes. EMU offers B2B and OEM supply for contractors, developers, and retailers fitting multiple units. Lead times for volume orders are approximately one month from order confirmation.
What certifications do EMU bidet seats carry? All EMU bidet seats are CE and UKCA certified. Materials comply with RoHS standards. Anti-backflow protection is built into the water inlet on all models.
| Issue | Likely Cause | Fix |
|---|---|---|
| Water leaking at T-valve | Connection not tight enough | Tighten T-valve connections by hand, then quarter turn with wrench |
| No warm water | Seat not yet heated | Wait 1-2 minutes after plugging in |
| Weak water pressure | Supply valve not fully open | Recheck shut-off valve - open fully |
| Seat not sitting level | Mounting plate misaligned | Loosen bolts, recentre plate, retighten |
| No power to seat | Outlet not grounded or tripped | Check outlet with another device; check circuit breaker |
If an issue persists, EMU's support team can be reached by email. Customers can send photos or short videos for remote diagnosis, and replacement parts are shipped directly for self-installation where needed.
EMU supplies bidet seats for residential, commercial, and multi-unit projects. We offer:
Planning a project or looking to add bidet seats to your supply chain? Contact our trade team →
Continue exploring the content hub:
Get the latest insights on smart bathroom technology delivered to your inbox
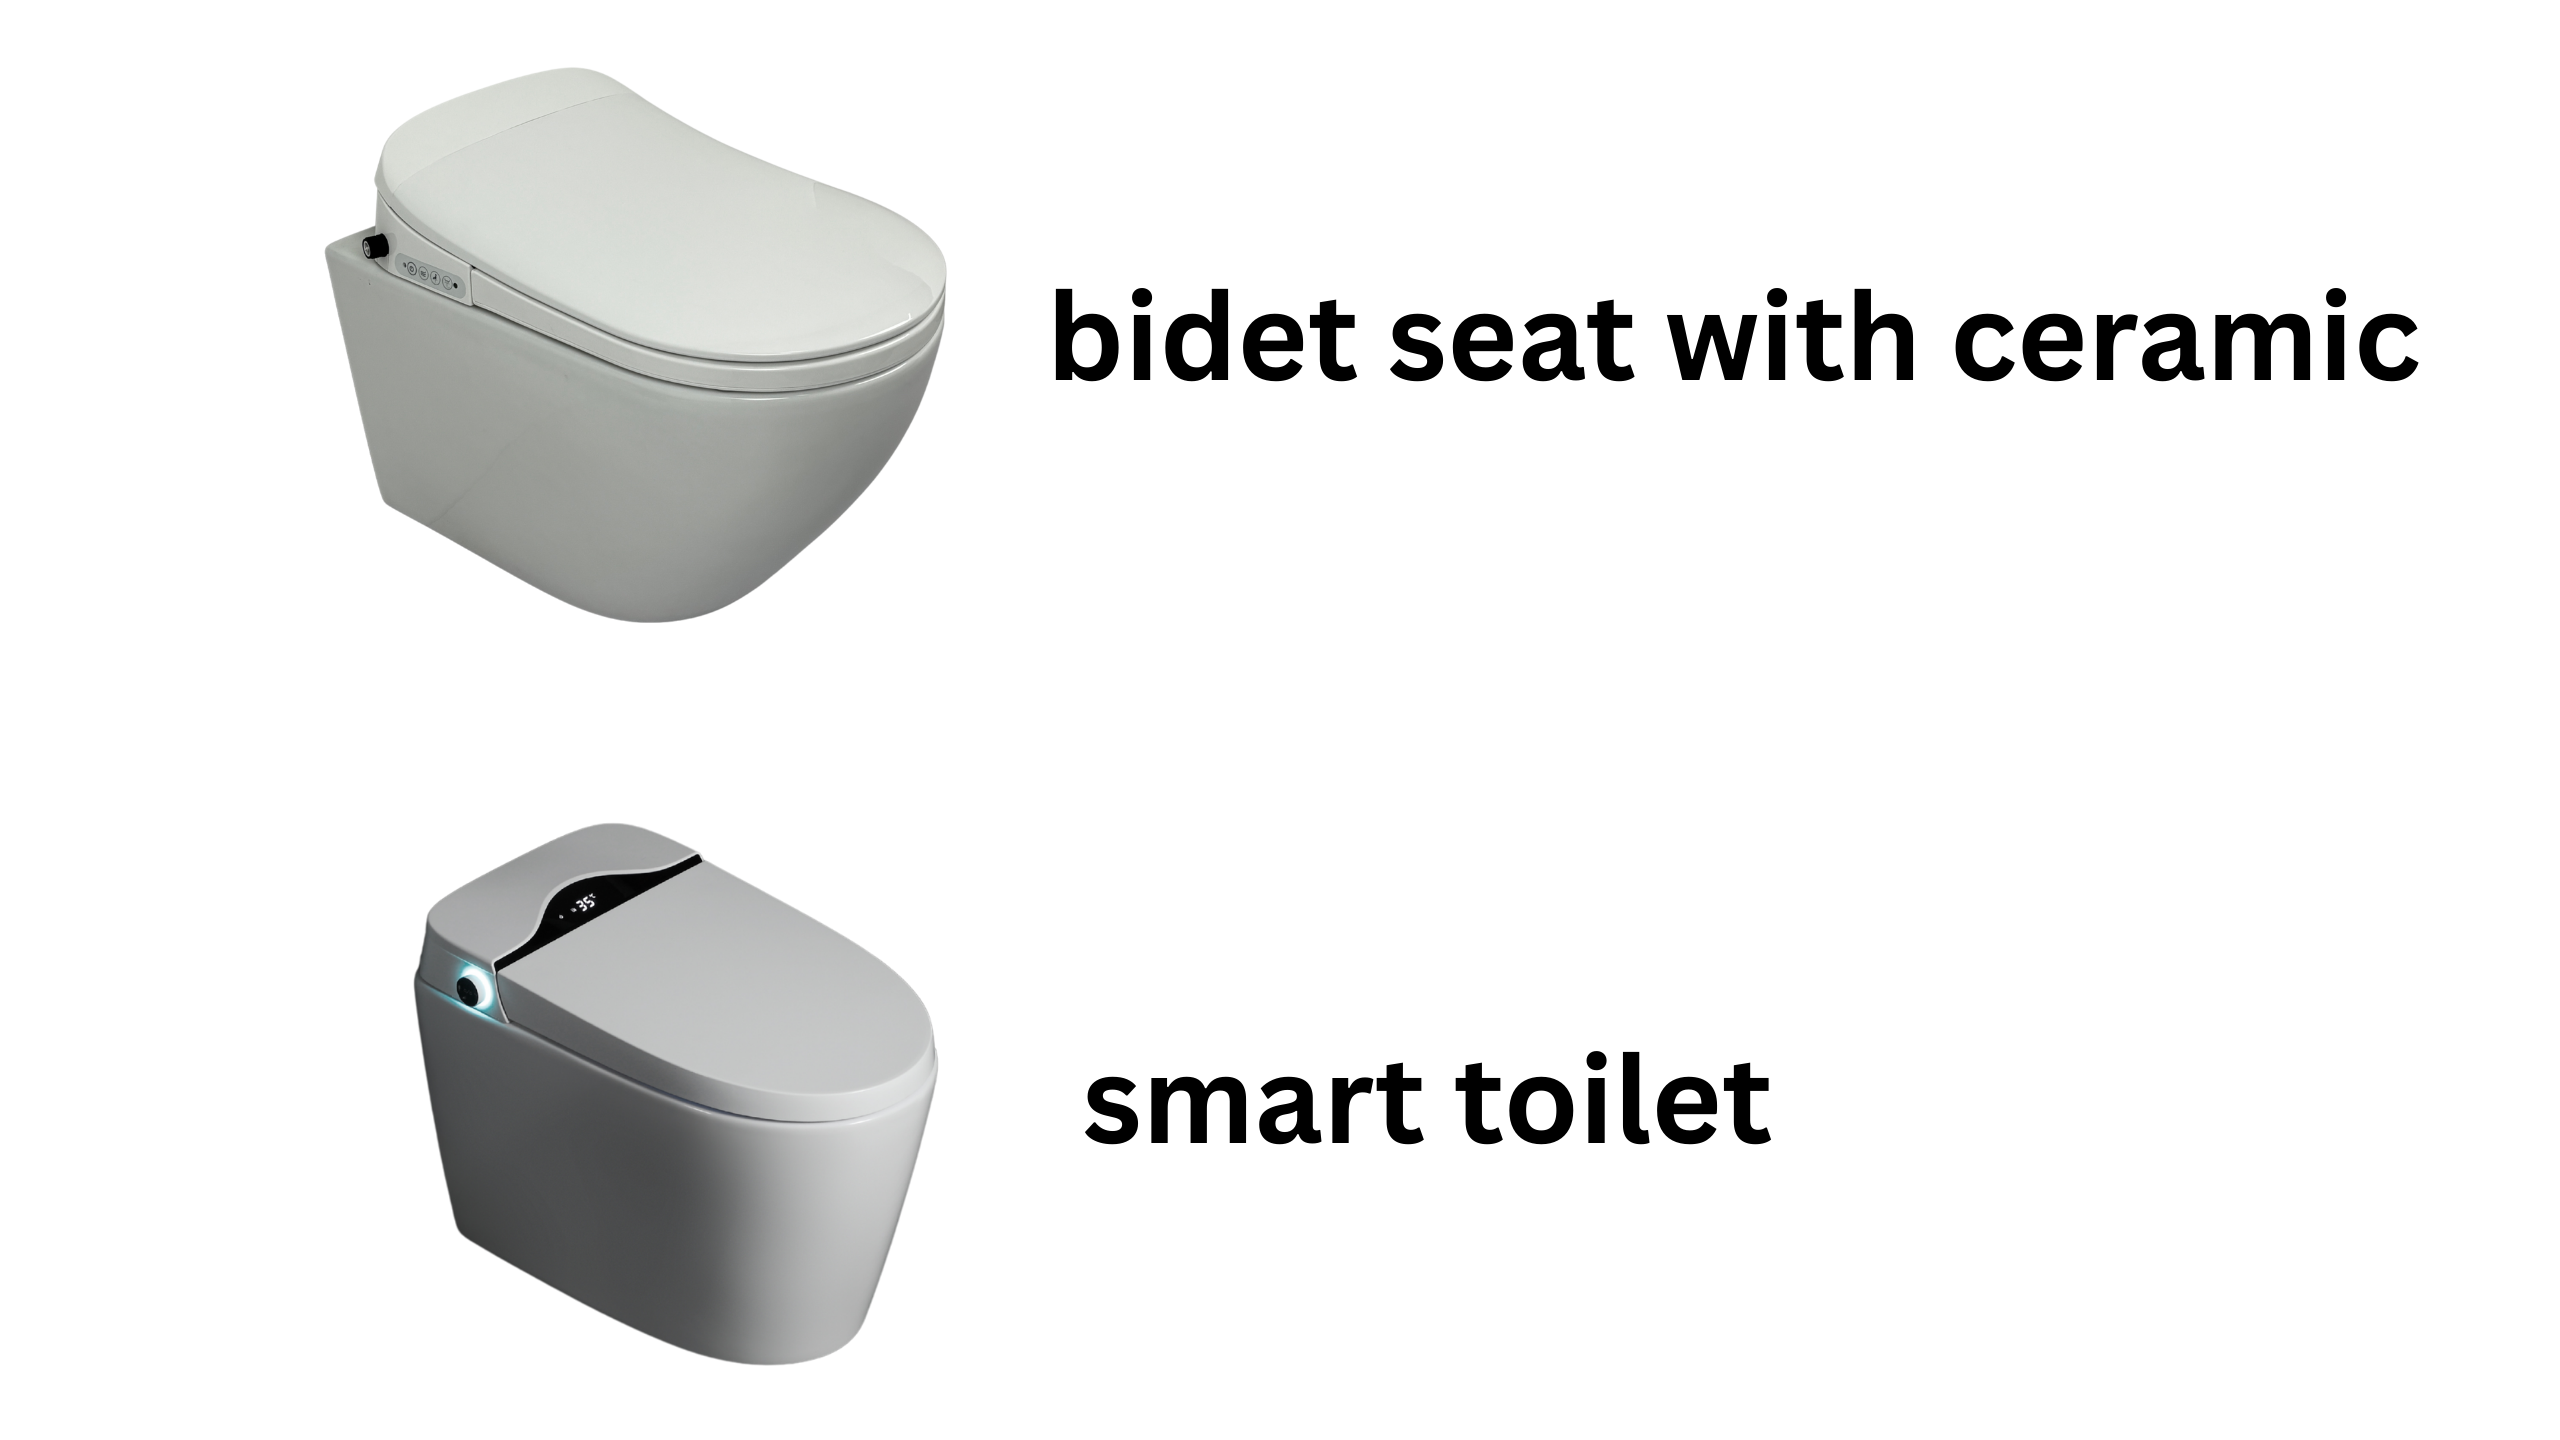
Smart toilets combine integrated bidet wash, auto-flush, heated seats, and self-cleaning technology. Complete guide to features, benefits, and what to look for.
Read more
Warm water is the #1 requested bidet feature. Find out how warm water bidet seats work, what to look for, and why electric bidet seats are worth the upgrade.
Read more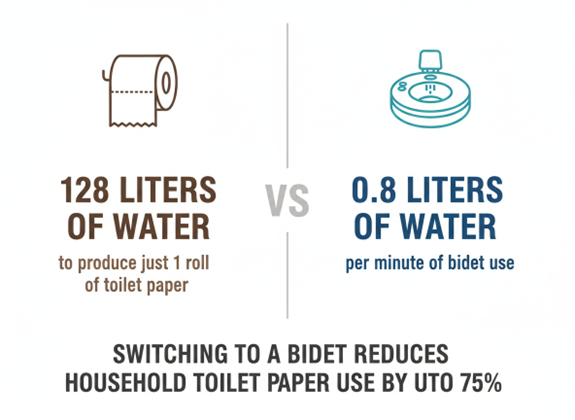
One toilet paper roll uses 128 liters of water to produce. A bidet uses under 1 liter per wash. The real environmental and health comparison - with the data.
Read moreDiscover our range of bidet toilets and intelligent bathroom solutions